
In an earlier post, we explored how traditional whiteboards make thought visible, visual, spatial, and collaborative. Today, we’ll dive into their digital counterparts and discover how they can transform remote and hybrid teamwork.
The Power of Digital Whiteboards
Digital whiteboards aren’t just tools; they’re catalysts for collaboration that supercharge remote and hybrid teams’ ability to work together effectively. Here’s why they’re game-changers:
1. Seeing the Whole Picture Together
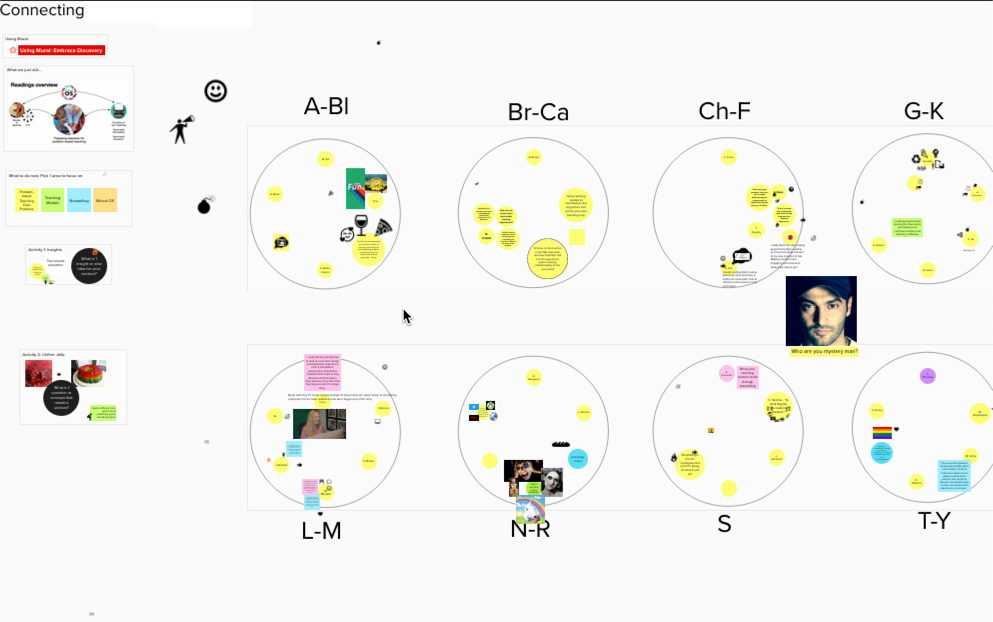
A digital whiteboard transforms group work by creating a shared visual space where teams can brainstorm, organize, and refine ideas collaboratively. For instance, a simple exercise like grouping sticky notes into themes can spark powerful conversations within minutes.
Why it matters: When everyone can see input in real-time, teams naturally align and find clarity. It’s not just brainstorming—it’s collective meaning-making.
2. Accelerating Engagement and Results
Digital whiteboards create a perfect balance of individual and group participation. Introverts can quietly contribute their thoughts while extroverts think aloud. Facilitators can add structure through tools like timers, voting, and breakout rooms.
Why it matters: This balanced approach leads to faster decision-making, more creative solutions, and a shared sense of accomplishment.
3. Evolving Ideas Over Time
Unlike physical whiteboards, digital platforms offer persistence—saving work as editable files that teams can revisit and refine. Export options (images, text, CSVs) and live links maintain momentum and provide a shared record for future collaboration.
Why it matters: Teams can build on previous work, encouraging continuous improvement and innovation rather than starting from scratch each time.
Getting Started: A Guide for Beginners
The biggest challenge when introducing digital whiteboards is enhancing collaboration without overwhelming new users. Here’s how to approach it:
Quick Start Guide for Facilitators
- Choose a simple layout for your first few sessions
- Prepare clear instructions for basic features only
- Start with small group activities (2-4 people)
- Build in time for practice and questions
Essential Features to Focus On
- Basic navigation (zoom, pan)
- Adding and moving sticky notes
- Simple text tools
- Basic shapes and arrows
Common Pitfalls to Avoid
- Rushing through tool orientation
- Overwhelming participants with too many features
- Using complex templates for first-time users
Balancing Power with Simplicity
Digital whiteboards offer powerful features that can both enable and challenge collaboration. Here’s how to navigate the most important ones:
1. Infinite Canvas
Challenge: The endless space can disorient new users.
Solution:
- Teach basic navigation commands first
- Create clear boundaries for different activities
- Use the “frames” feature to organize content
2. Drawing, Annotation, and Media Tools
Challenge: Different platforms have different interfaces.
Solution:
- Use consistent tool sets across sessions
- Stick to basic tools for new groups
- Provide visual guides for common actions
3. Templates
Challenge: Pre-made templates can overwhelm participants.
Solution:
- Add complexity gradually as users gain confidence
- Start with blank or simple layouts
- Create custom, minimal templates

Making Digital Whiteboards Accessible
Accessibility isn’t optional—it’s essential for inclusive collaboration. Here’s how to ensure everyone can participate effectively:
Design for Inclusion
- Use high-contrast colors
- Maintain clear visual hierarchy
- Provide multiple ways to contribute
- Keep layouts simple and structured
Facilitation Best Practices
- Give clear verbal directions
- ffer alternative participation methods
- Check in regularly with participants
- Document outcomes in accessible formats
Technical Considerations
- Test compatibility with screen readers
- Ensure keyboard navigation works
- Provide text alternatives for visual content
- Use platform accessibility features
Choosing the Right Tool
Different teams have different needs. Here’s a simplified guide to the most popular platforms:
For Beginners
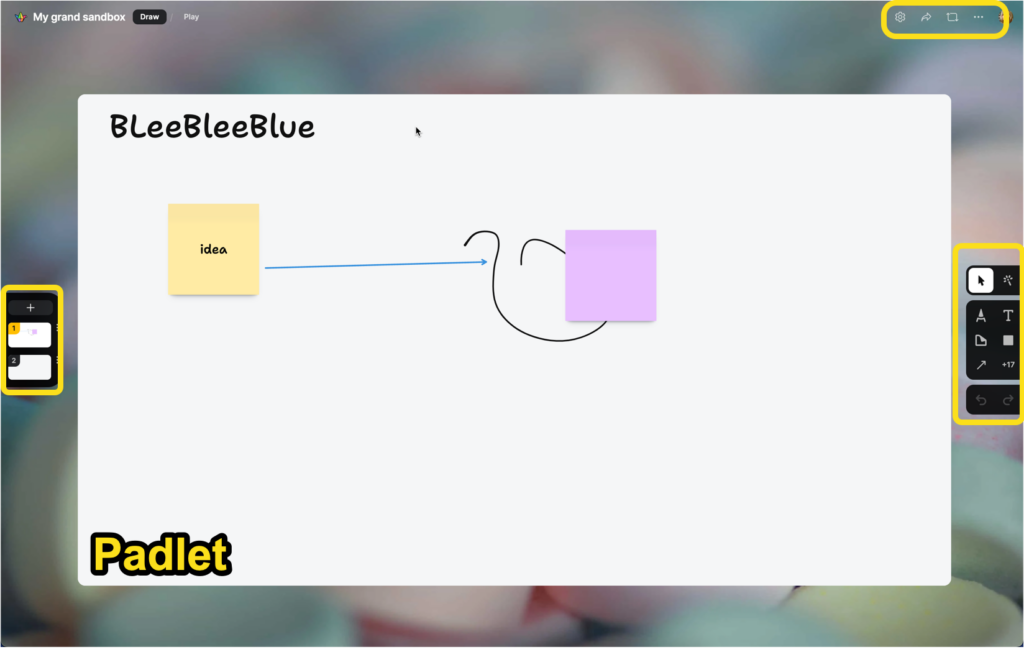
- Padlet: Simple, accessible, great for education (called a “Sandbox”)
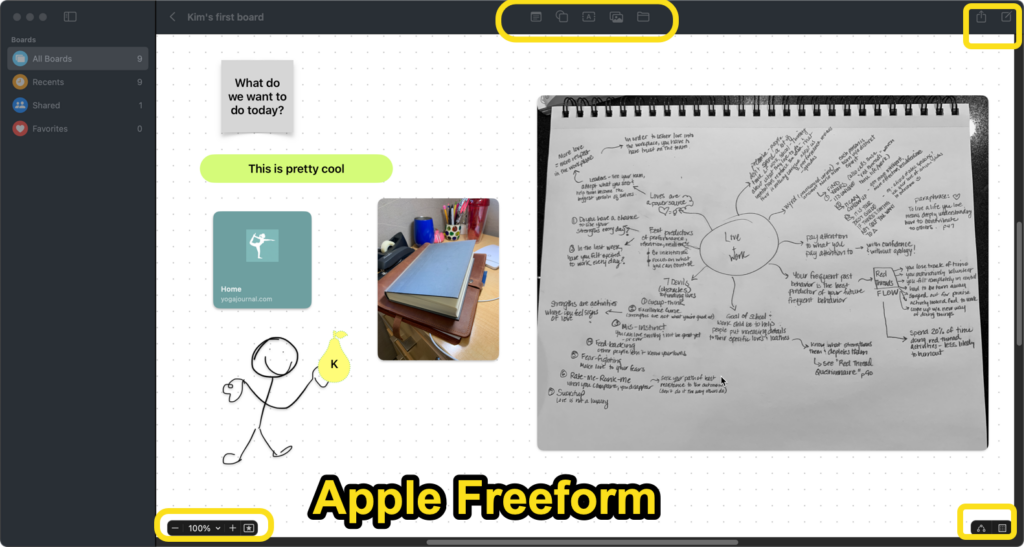
- Apple Freeform: Clean interface, perfect for Apple users (though restricted to Apple ecosystem)
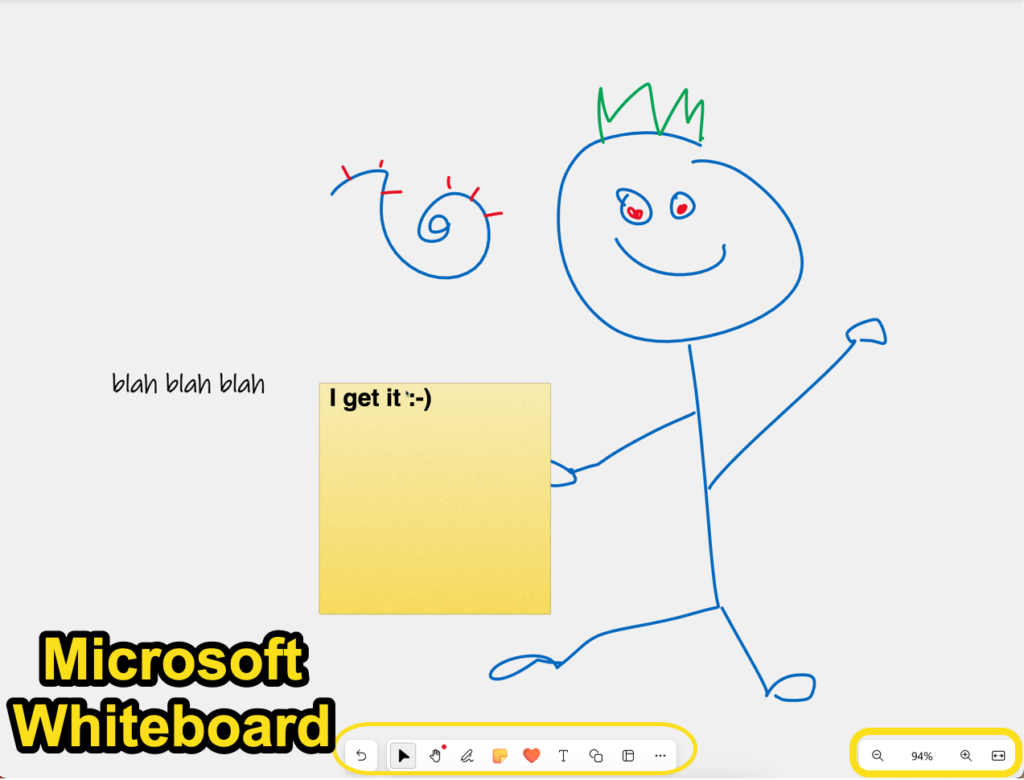
- Microsoft Whiteboard: Familiar for Microsoft 365 users
For Advanced Teams
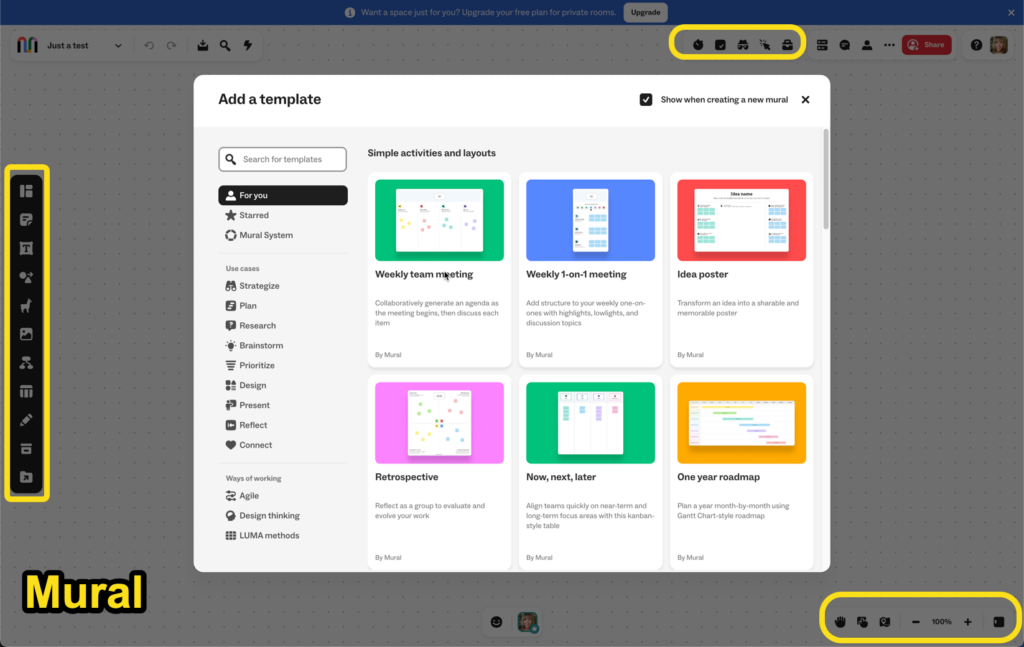
- Mural: Robust facilitation tools, extensive templates
- Miro: Powerful features, great for complex projects
- FigJam: Excellent for design-focused teams
For Specific Use Cases
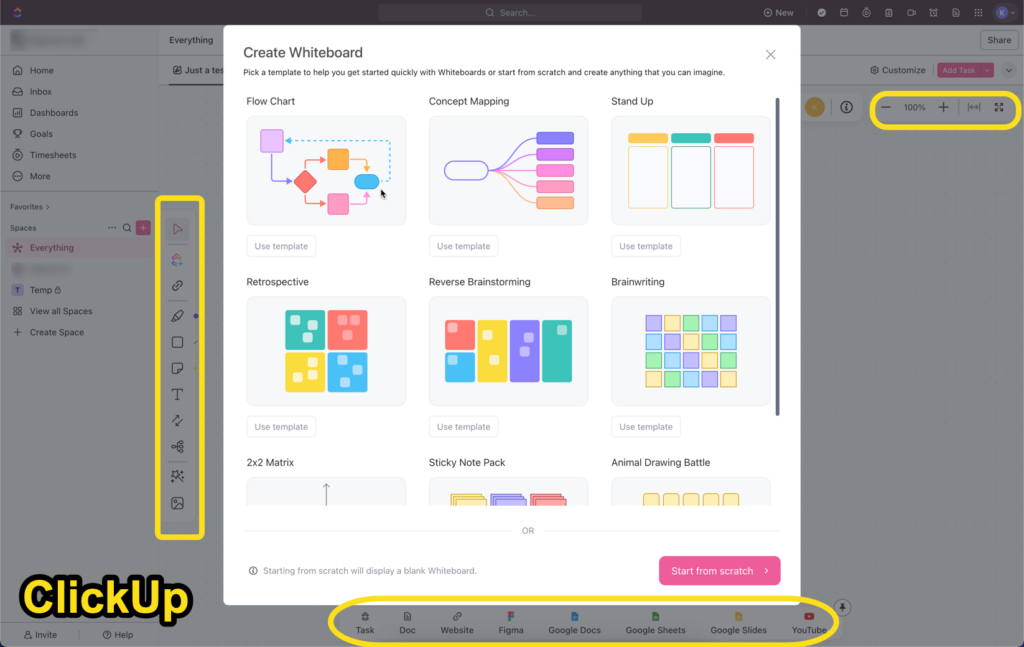
- ClickUp: Best for project management integration
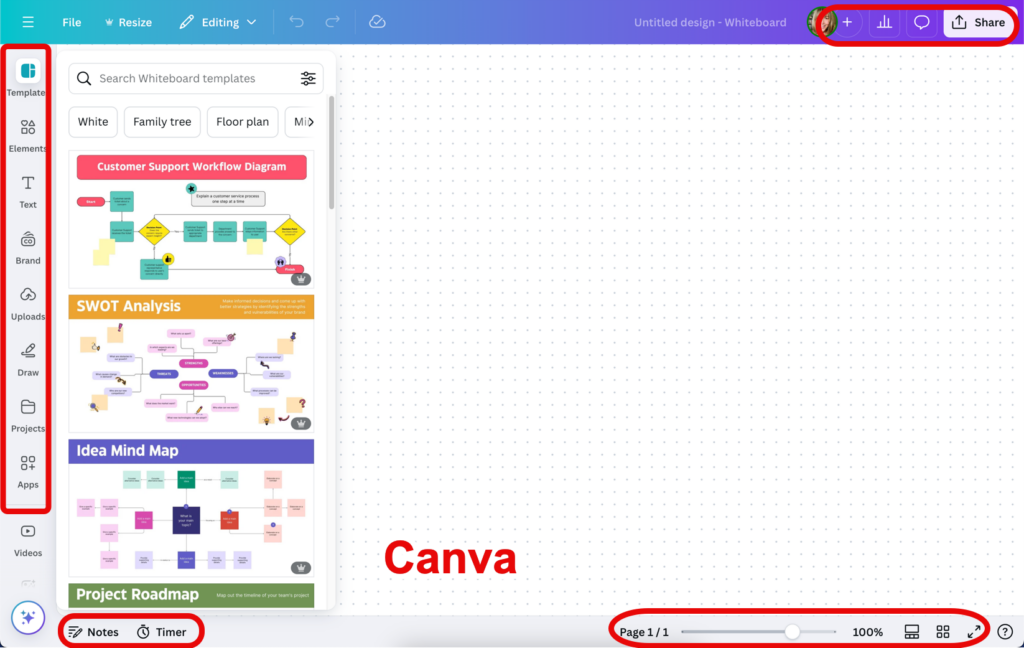
- Canva: Ideal for visual-first projects
- Zoom Whiteboard: Perfect for meeting integration
Best for: Facilitators seeking advanced collaboration tools.
- Strengths: Extensive templates, robust facilitator tools, and integrations with apps like Slack and Google Drive.
- Challenges: Learning curve for first-time users; some templates can feel overwhelming.
Price Comparison
(As of December 2024)
| Tool | Free Plan | Basic Paid Plan | Best For |
|---|---|---|---|
| Mural | 3 murals | $9.99/user/month | Design thinking, workshops |
| Padlet | 3 boards | $8/month | Education, simple collaboration |
| Miro | 3 boards | $8/user/month | Complex project visualization |
| ClickUp | Unlimited | $5/user/month | Project management teams |
| Freeform | Full features | Free (Apple only) | Apple ecosystem users |
Conclusion
Digital whiteboards can transform how teams collaborate, but success depends on thoughtful implementation. Start simple, focus on accessibility, and choose tools that match your team’s needs. As you and your team gain confidence, gradually explore more advanced features to unlock the full potential of digital collaboration.